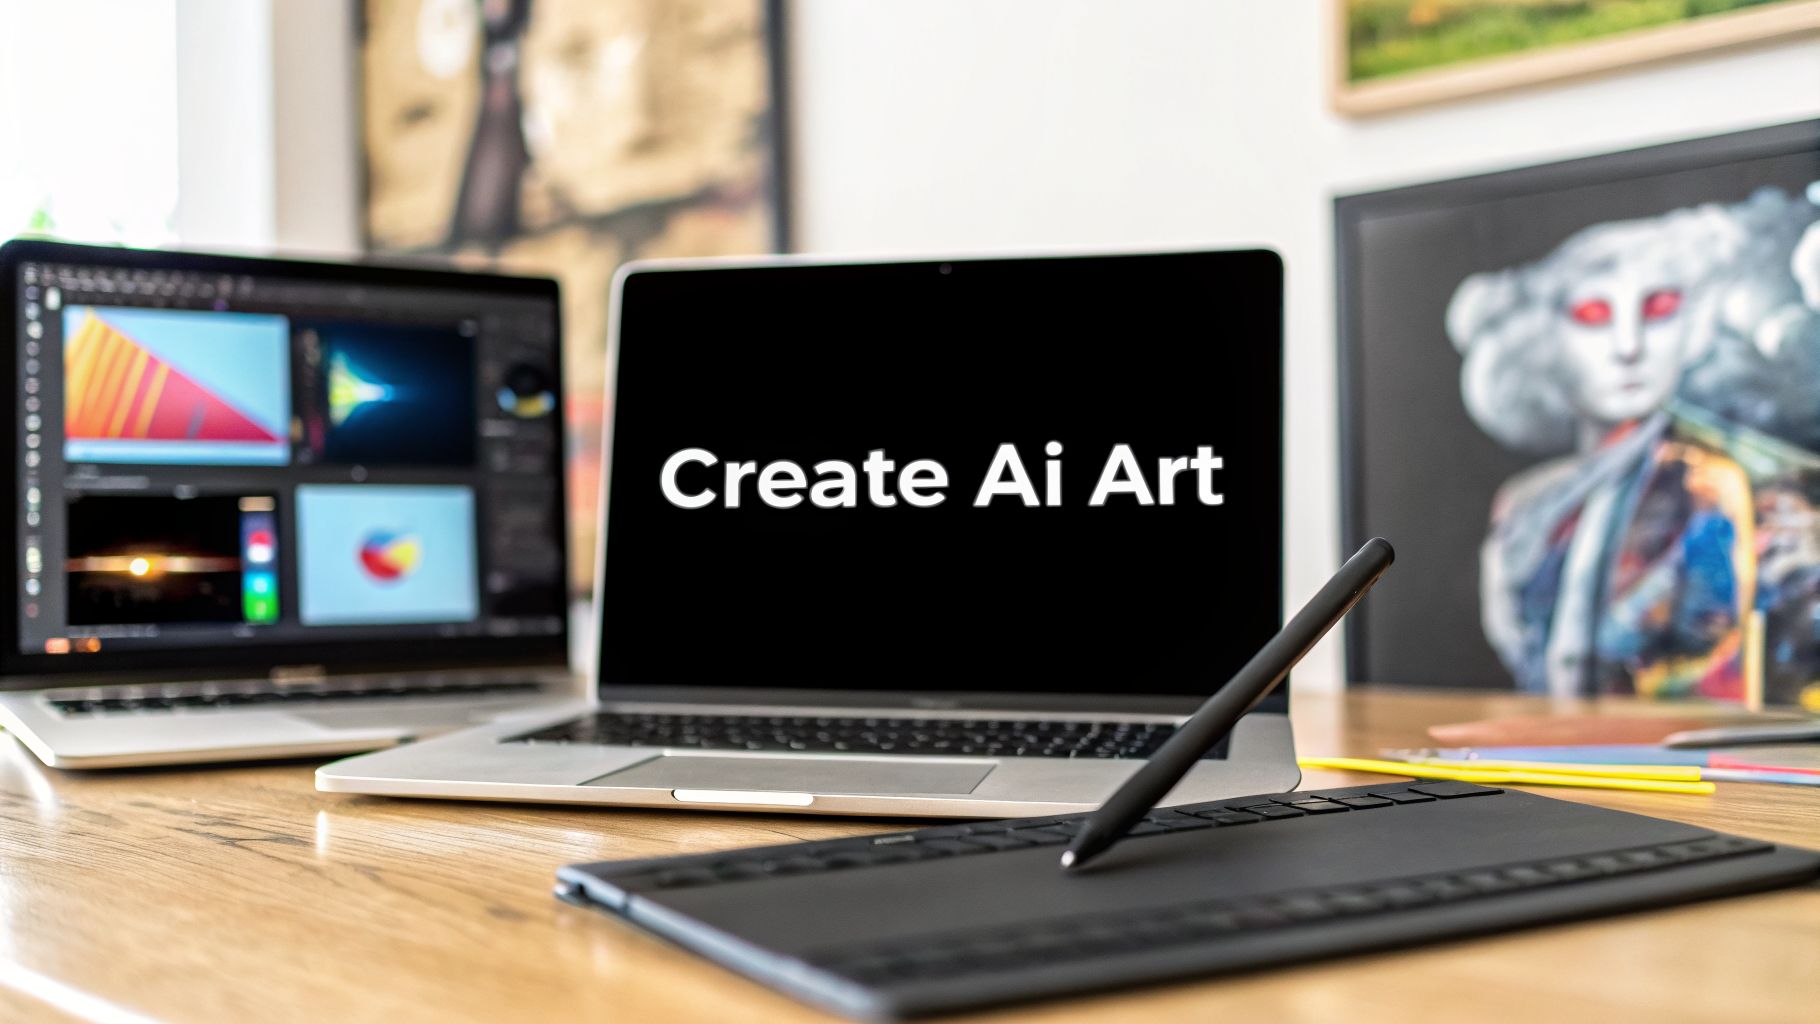
How to Create AI Art: Your First Masterpiece Awaits
Hey there! Ever thought about creating your own AI art? It's honestly way easier than you might think. You just pick a tool you like, type out a quick description of the image in your head, and let the AI bring it to life. Seriously, you can go from a blank slate to your first incredible piece in just a few minutes.
Your AI Art Journey Starts Right Here
Have you ever been scrolling through your feed, seen a stunning piece of digital art, and thought, "I wish I could make something that cool"? Well, guess what? You can! This guide is going to be your friendly, hands-on introduction to the wild and wonderful world of AI art. We'll break it all down in a way that makes sense, even if you're a total beginner.
Forget about needing to know complicated software or fancy tech jargon. This is all about your imagination. Think of the AI as your personal, super-fast illustrator who's ready to paint anything you can describe. You don’t need any artistic talent or a high-end computer—just your ideas and a little bit of curiosity.
The Basic AI Art Creation Process
At its heart, making AI art is a simple three-step dance. You choose your generator, describe what you want to create, and let the AI work its magic. It's a fun, creative loop where you get to be the art director.
This diagram shows you exactly how that simple process works.

As you can see, you're the one with the vision. The AI is just the tool that executes on your creative direction.
You Are Not Alone on This Journey
If you're feeling a little spark of excitement right now, you're in great company. The accessibility of these tools is empowering thousands of people to become digital creators every single day.
The market for AI in creative fields is absolutely booming. It was valued at USD 5.68 billion in 2025 and is expected to skyrocket to USD 54.04 billion by 2035. That explosive growth is driven by people just like you, using beginner-friendly platforms to make amazing visuals from simple text. You can dive deeper into these trends in reports from market research firms like InsightAce Analytic.
"The process of creating art makes art of you… It’s a diploma. The book you write, the painting you create…is a mark of proof that you have done the work to learn. Because in the end of it all, you are the art."
— Brandon Sanderson, Author
I love this perspective because it reminds us that AI art isn't just about the final image; it’s about your own creative growth. The journey you're about to start is the real masterpiece. So, let’s get into the specific tools and techniques you'll need to begin.
1. Choose Your Tool: Picking Your First AI Art Generator

Think of this as picking out your first set of digital paintbrushes. The world of AI art generators is exploding with options, and while that's exciting, it can also feel a bit overwhelming when you're just starting out. Let's cut through the noise and figure out which tool is the right fit for you.
Getting started has never been easier. You don't need a supercomputer anymore—most of the best tools are cloud-based, making up over 60% of the market. This accessibility is fueling some incredible growth; the generative AI art market, which was at USD 298.3 million in 2023, is on track to hit a staggering USD 8,628.5 million by 2033, according to analysis from Market.us.
All you really need is the right AI art generator to get going.
The Best Starting Points for Beginners
From my experience, newcomers have the best time starting with one of three main players: Midjourney, DALL-E 3, or Leonardo.Ai. Each one has a totally different feel and excels at different things.
- Midjourney: The go-to for jaw-dropping, artistic visuals. It has a signature, slightly opinionated style that produces beautiful, almost painterly results right out of the box. It’s perfect for that "wow" factor.
- DALL-E 3: This model is a genius at understanding plain English. You can give it complex, conversational prompts, and it nails the details with surprising accuracy. It's built into tools like ChatGPT and Microsoft Copilot, making it super accessible.
- Leonardo.Ai: A phenomenal and welcoming platform, especially if you're just dipping your toes in. It has a generous free plan, a ton of features, and a thriving community sharing custom models. It's like a creative playground.
So, How Do You Actually Choose?
So, which digital paintbrush should you grab first? It really just comes down to what you want to create.
I personally hop between tools depending on the project. If I’m aiming for a breathtaking fantasy landscape or a moody, stylized portrait, I almost always start with Midjourney. Its aesthetic is just wired for that kind of beauty.
But when I need an image that follows a very specific, literal instruction—something like, "a photorealistic Corgi wearing a tiny chef's hat, standing proudly next to a stack of heart-shaped pancakes"—I turn to DALL-E 3. It's unmatched at interpreting and combining quirky, specific ideas.
And for anyone on a budget or who just wants a sandbox to play in, Leonardo.Ai is the answer. It’s the perfect place to experiment without commitment, and you can try out dozens of different styles trained by other users.
An Expert's Two Cents: Don't get married to one tool. Seriously. Most creators I know use a mix of generators. The best way to learn is to burn through the free trials and credits on each platform. Spend an afternoon with each one and see which one feels right for your personal style.
If you want to see what's out there without opening your wallet, our guide to the best free AI image generators breaks down the top options.
Ultimately, this isn't about finding the one "best" tool. It's about finding the one that clicks with you and gets you excited to create. Just pick one, jump in, and see what happens. You can always try another one tomorrow.
2. Craft Your Prompt: Speaking the AI's Language

Alright, this is where the real magic happens. If choosing a generator is like picking your canvas, then writing a prompt is like mixing your paints and making that first, definitive brushstroke. A prompt is simply your text instruction to the AI, but learning to write a good one is the single most important skill you can develop as a beginner.
Think of yourself as an art director. You're in charge of a team of incredibly talented, lightning-fast artists who are also incredibly literal. Just telling them to create "a castle" is a gamble—you might get a cartoon, a photograph, or a rough sketch. But if you give them a clear, detailed brief, they can produce a masterpiece.
This is the huge difference between a basic prompt and what I call a "power prompt." Instead of tossing a one-word idea at the AI, we're going to build a detailed recipe for an amazing image.
The Five Ingredients of a Power Prompt
A truly effective prompt isn't just a subject; it's a stack of descriptive layers that all work together. After generating thousands of images, I've found a formula that consistently delivers great results by focusing on five key ingredients.
Let's break them down.
- Subject: This is the what. Be specific! "A dog" is okay, but "a fluffy Corgi puppy with huge, floppy ears" is much better.
- Style: This defines the how. Do you want a "vibrant watercolor painting," a "gritty cyberpunk illustration," or a "grainy black and white photograph from the 1940s"?
- Composition: This tells the AI where the "camera" is. Use photography terms like "wide-angle shot," "extreme close-up," "from a low angle," or "dutch angle" to control the perspective and framing.
- Lighting: This sets the entire mood. Words like "dramatic cinematic lighting," "soft morning glow," "flickering neon signs," or "eerie moonlight" can completely transform the feel of your art.
- Mood & Emotion: This is the feeling you want the image to have. Is the scene "serene and peaceful," "chaotic and energetic," or "mysterious and lonely"?
Combining these elements is how you level up from a vague concept to a stunning, specific piece of art.
From Simple to Stunning: A Practical Example
Let’s build a power prompt together, one layer at a time, to see just how much difference a little detail makes. We’ll start with a simple idea: "a knight."
Basic Prompt:
a knight- This gives you something totally generic. You’ll get a knight, sure, but it will likely be a boring 3D model or a flat drawing with zero personality.
Adding Subject & Style Details:
a stoic female knight in ornate silver armor, fantasy art- Much better! Now we have a specific character and a defined artistic genre. The result will already be more focused and visually interesting.
Adding Composition & Lighting:
a stoic female knight in ornate silver armor, fantasy art, extreme close-up portrait, dramatic Rembrandt lighting casting deep shadows- Now this is a game-changer. By setting the shot and the lighting, we’re telling a story and creating a powerful atmosphere. It’s no longer just a picture of a knight; it's a character portrait.
Adding Mood & Final Polish:
a stoic female knight in ornate silver armor, fantasy art, extreme close-up portrait, dramatic Rembrandt lighting casting deep shadows, melancholic, hyperdetailed, 8k- With these final touches, we've guided the AI toward a specific emotion ("melancholic") and demanded a high level of technical quality ("hyperdetailed, 8k").
This layering process is the core of effective AI art creation. The growth in this space is undeniable—the AI image generator market is projected to swell from USD 484.29 million in 2026 to an incredible USD 1,747.63 million by 2034, showing a 17.40% CAGR. Learning to prompt well gives you a major advantage. To see how these tools are impacting creative fields, you can read the full AI image generator market analysis.
The Pro Trick: Negative Prompts
Sometimes, what you don't want in your image is just as important as what you do. This is where negative prompts come in. Most advanced AI art tools provide a separate input field just for this purpose.
Think of negative prompts as your secret weapon for cleaning up common AI quirks like mangled hands, extra limbs, weird text artifacts, or ugly watermarks before they even appear.
My Personal Tip: I use negative prompts in almost every single generation. I have a standard set I often start with:
ugly, deformed, disfigured, poor anatomy, bad hands, extra limbs, blurry, pixelated, text, watermark. This simple step saves me a ton of time on re-rolling images and fixing them later.
For example, if you're trying to create a pristine, untouched nature scene, you could add buildings, people, roads, power lines to your negative prompt to keep it purely natural.
Finding Inspiration and Learning from Others
Honestly, one of the best ways to get better at prompting is to see what other people are doing. To really get a feel for what’s possible, exploring practical AI image prompt examples is a huge help. Many generator platforms have public galleries where users share their creations and—most importantly—the exact prompts they used.
Don't be afraid to "remix" prompts you find online. Take a prompt that created an image you love, then try changing the subject, tweaking the style, or swapping out the lighting. It's a fantastic way to learn the vocabulary of AI art and quickly develop your own unique style. For a more detailed breakdown of writing instructions, you might find our guide on how to write AI prompts useful.
Learning to prompt is an art form in itself. It’s less about programming and more about a creative dialogue between you and the machine. By giving clear, layered, and specific directions, you stop being a passive user and become a true art director, capable of bringing any vision to life.
3. Refine and Perfect Your Creation

Let me let you in on a little secret that separates the pros from the beginners: the first image the AI spits out is almost never the final piece. It's just the starting point—a lump of digital clay. The real craft begins with what you do next.
Think of that initial batch of images as a brainstorming session with your AI assistant. You've fed it a solid prompt, and it’s come back with some interesting ideas. Now it’s your turn to get your hands dirty and shape those ideas into a finished work of art.
Using Built-In Iteration Tools
Thankfully, most AI platforms are built for this creative back-and-forth. They come packed with tools designed for iteration, but the two you'll live by are Variations and Upscaling.
Variations: Ever get an image that's so close to perfect, but something small—like the character's gaze or the lighting—is just a little off? This is where the "Variations" button becomes your best friend. It takes an image you like and riffs on it, generating a new set of options that are similar but unique. It's the perfect way to fine-tune details without starting from scratch.
Upscaling: Those first images you get are usually quick, low-resolution previews to save time and processing power. "Upscaling" is the process of telling the AI, "This is the one," and having it re-render your selection at a much higher resolution. This brings out all the fine details and textures, making it a critical final step before you can call an image truly done.
My own workflow is often a rapid cycle of this process. I'll generate a few concepts, pick the one with the strongest composition, run variations until the subject is perfect, and then upscale the winner. It's a quick, intuitive way to zero in on exactly what you have in mind.
Taking Your Art into an Editor
To really elevate an AI-generated image and put your own stamp on it, you’ll want to bring it into an external editor. This is where you graduate from simply writing prompts and start adding your own essential human touch. You don't even need pricey software to make a huge impact.
"AI gives me the 'clay', but my job as an artist is to be the sculptor. I take that raw output and shape it with my own vision, using tools to refine colors, composite elements, and fix imperfections. That's where the art truly becomes mine."
— An AI Artist's Perspective
This perspective really gets to the heart of why editing matters. It’s not just about finishing a picture; it’s about applying your own eye and skill, which in turn, makes you a better artist.
Simple Edits for Huge Impact
You can dramatically improve an image with just a handful of basic tweaks. Free, browser-based tools like Photopea are surprisingly robust and mimic the functionality of professional-grade software.
Here are a few quick adjustments I apply to nearly every single piece I create:
Color and Tone Adjustments
- Brightness & Contrast: AI generations can sometimes come out looking a bit flat or washed out. A simple S-curve or a slight bump in contrast can instantly add depth and make the whole image pop.
- Color Balance: Does the image feel too yellow and warm, or too blue and cold? The color balance sliders are your friends for nudging the overall hue to better match the mood you're after.
- Vibrance & Saturation: Use the vibrance slider to give muted colors a little life without making everything look garish. I find it gives a much more natural result than cranking up the saturation.
Blending and Compositing
This is where things get really fun. By combining elements from different AI generations, you can create something truly unique that the AI could never have produced on its own. It's the key to making the work yours.
For example, I recently generated a portrait where I absolutely loved the character's face, but the background was bland. In a separate generation, I got a stunning, moody forest. I simply layered the two images in my editor, used a soft brush and a layer mask to paint the character into the new scene, and created a final composite that was far better than either of the originals.
Navigating the Practical Side of AI Art
Alright, so you're generating some incredible images. The magic is flowing. But then, the practical questions start creeping in. You might find yourself wondering, "Can I actually sell this?" "Who even owns this picture?" "And how do I keep doing this without my wallet crying for mercy?"
Let's get straight to it and tackle the real-world side of creating AI art. We'll cut through the noise and talk about copyright, making money, and managing your costs like a pro.
Who Owns Your AI Art?
This is the big one, and the answer is… it's complicated, but getting clearer. As of 2026, the legal landscape is still taking shape. The general stance from copyright offices is that an image created solely from a text prompt can't be copyrighted by a human. Why? Because it's seen as lacking significant "human authorship."
This is exactly why the iteration and post-processing we've been talking about are so important. When you take that initial AI output and start making it your own—maybe you blend it with other images, repaint entire sections in Photoshop, perform detailed color corrections, or add your own hand-drawn elements—you're injecting that critical human touch. That's your path to claiming ownership.
Most paid plans on major platforms like Midjourney already grant you broad commercial rights to use the images you generate. This means you can sell them, but it doesn't automatically mean you get a copyright registration for the raw output.
Expert Takeaway: Think of the AI's initial output as a high-quality stock photo you have a license for. To make it truly yours in a legally protectable way, you have to transform it. The more of your own creative work you pour into it, the stronger your claim of authorship becomes.
AI Art Platform Copyright Policies Simplified for 2026
To give you a clearer picture, the policies can feel a bit all over the place. Here's a simplified breakdown of what you can generally expect from the major players as a beginner.
| Platform | Typical Ownership (Free Tier) | Typical Ownership (Paid Tier) | Best Practice for Commercial Use |
|---|---|---|---|
| Midjourney | Generally for personal, non-commercial use. Images may be public. | Full commercial rights to the images you generate. | Edit, composite, or modify the image to add significant human authorship. |
| DALL-E 3 | Subject to OpenAI's or Microsoft's terms, often allows commercial use. | Similar to free tier, with more privacy and faster generation. | Always add your own creative work before using for major commercial projects. |
| Leonardo.Ai | Images may be public and used by others; commercial rights are limited. | Grants commercial rights, often with the option for private generations. | Create a composite piece or heavily edit the image for unique commercial work. |
Keep in mind, these terms are always evolving, so checking the latest terms of service is never a bad idea. This whole process of blending AI with human skill is the essence of what is AI-generated content and how new, protectable works are born.
How to Make Money with Your AI Art Skills
Once you're creating and refining images you're proud of, you can absolutely turn those skills into cash. Many artists and designers are already building entire careers here. The trick is to find a niche where your creative eye and the AI's incredible speed can solve a real problem for someone.
Here are a few proven ways people are earning an income:
Selling Prints and Merchandise: Marketplaces like Etsy and Printful are your best friends here. You could design a whole series of themed art—think vintage travel posters for fantasy worlds or abstract patterns for phone cases—and sell them as physical products without ever touching inventory.
Freelance Graphic Design: Jump on sites like Fiverr or Upwork, and you'll find countless businesses desperate for custom graphics for their social media, blogs, or ad campaigns. You can deliver stunning visuals in a fraction of the time it would take traditionally, which is a huge advantage.
Creating Custom Assets: This is a fantastic niche. Indie game developers, authors, and D&D dungeon masters constantly need specific art, from character portraits and item icons to atmospheric concept art. You can work directly with them, using AI to rapidly bring their ideas to life.
Managing Your Costs and Choosing a Plan
Let's be honest, generating AI art is addictive. It’s way too easy to get lost in the creative flow and burn through your credits before you know it. To create sustainably, you need a plan.
Most platforms use one of two main pricing systems: subscriptions or pay-per-image credits.
Subscription Models
These plans usually give you a certain number of "fast" generations per month for a single flat fee. Midjourney is the classic example. This is a great fit if you're a consistent creator who generates a lot of art and prefers a predictable monthly expense.
Pay-per-Image Credits
Other platforms, like Leonardo.Ai, often use a credit-based system. You'll get some free credits that refill daily or weekly, with the option to buy more as you need them. This is perfect if you're a more casual user or your work comes in bursts. You just pay for what you use.
My personal advice? Start with a free tier or a small, low-cost credit pack. Get a real feel for your own usage patterns. If you find you're constantly running out of credits and buying top-ups, that's your sign. It’s probably more economical to switch to a monthly subscription for the long haul.
Frequently Asked Questions About AI Art
As you get your hands dirty with AI art, you're bound to have some questions. It's a brand new frontier, and it's perfectly normal to wonder about the specifics. Let's clear up some of the most common things people ask when they're just starting out.
Do I Need a Powerful Computer to Create AI Art?
This is probably the biggest myth out there, and the good news is: nope, not at all. You don't need a beast of a machine.
Most of the tools you'll hear about, like Midjourney and DALL-E 3, are cloud-based. All the real number-crunching happens on their powerful servers, not your device. If you have a basic laptop, a tablet, or even just a smartphone and an internet connection, you have everything you need to start creating.
Is It Legal to Sell the Art I Make with AI?
The short answer is generally yes, but you have to pay attention to the fine print. Most platforms with paid plans grant you commercial rights for the images you generate, meaning you're free to use them in projects you plan to monetize.
Where it gets murky is copyright law, which is still catching up. The consensus is that purely AI-generated work can be tricky to copyright. The best way to protect your work and make it truly your own is to add a human touch.
Expert Takeaway: Think of your AI generations as a starting point. By editing, color-correcting, or combining them in a program like Photoshop or Procreate, you introduce significant human authorship. This makes your art more unique and strengthens your ownership over the final piece, transforming it into a new, derivative work.
How Can I Make My AI Art Look More Unique?
This is where you graduate from just using a tool to becoming an artist. The secret is to develop your own creative workflow and not just accept the first thing the AI spits out.
Become a prompt master. Don't just ask for "a cat." Get specific. Is it a "scruffy ginger tabby cat, curled up sleeping in a sunbeam on a dusty wooden floor"? What's the artistic style? "Studio Ghibli animation style, soft lighting, detailed textures." A great prompt is your single most powerful tool.
Treat the AI as a co-pilot, not the pilot. The initial image is just a first draft. Take that image into an editing app—even a free one works! Adjust the contrast, crop it for a stronger composition, or blend it with other elements you've generated. This back-and-forth between you and the AI is where the real magic happens.
Will AI Art Take Jobs Away from Human Artists?
It's a valid concern, but most working artists I know see AI as another tool in the toolbox—not so different from the initial disruption caused by photography or Photoshop. It's less of a replacement and more of an amplifier for human creativity.
AI can be an incredible time-saver for things like brainstorming, generating background textures, or exploring different color palettes in seconds. While some parts of the industry will no doubt change, it’s also opening the door for new roles like dedicated prompt engineers, AI art directors, and hybrid artists who can expertly blend their own skills with what the AI generates.
Ready to start your creative journey? YourAI2Day provides all the news, guides, and tool reviews you need to master AI. Visit us at https://www.yourai2day.com to stay ahead of the curve.